The Sudden Panic of a Blank Computer Screen
I know that sinking feeling when you plug in your backup drive and nothing happens. You just want your family photos or work files, but you are staring at a blank screen instead. Don't panic yet—your files are probably completely safe. Let me show you how I easily got my computer to recognize a "dead" drive without paying a tech support expert a single penny.
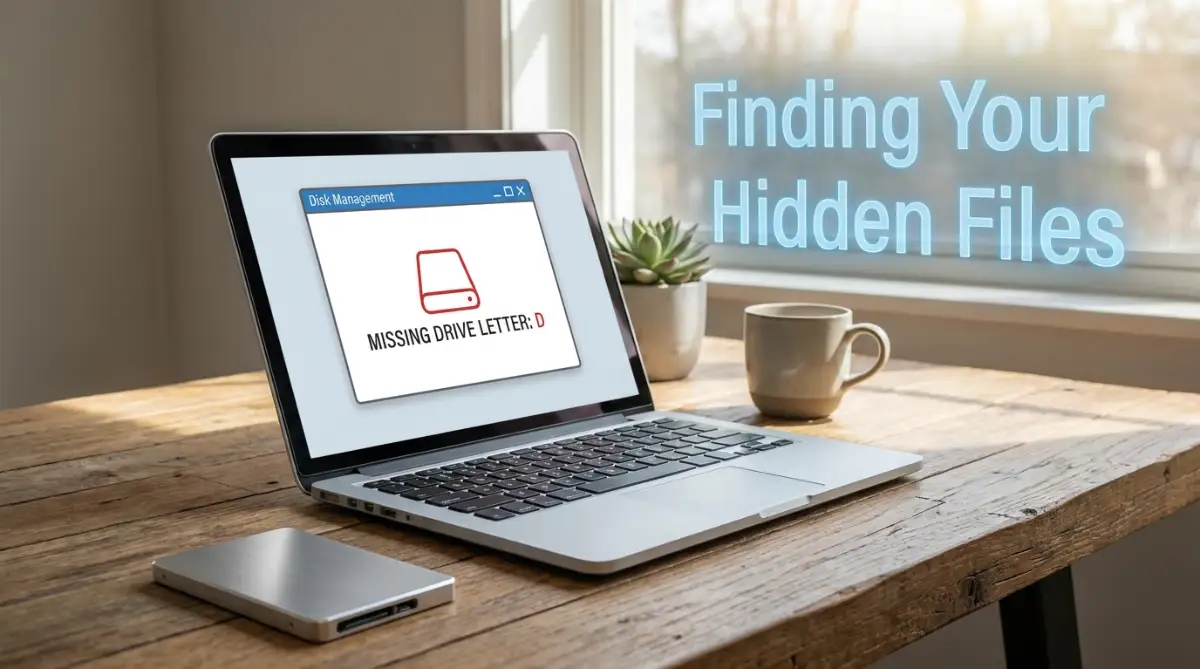
My 30-Second Hard Drive Fix Guide
- Stop and Check: Swap your USB cable and plug the drive directly into the back ports of a desktop to rule out power drops.
- Assign a Letter: If the drive spins but stays hidden, open Disk Management and assign a new drive letter.
- Avoid Overheating: Keep your external drive on a hard, flat surface like a wooden desk, never on a soft bed or pillow.
- Safely Eject: Always click "Safely Remove Hardware" before yanking the cable to prevent filesystem corruption.
Diagnosing the Invisible Connection Problem
Before we start clicking buttons and changing system settings, we need to understand exactly what is happening inside the machine. When you connect a device, your computer goes through a very specific digital handshake protocol. Windows asks the device for its identity, its storage size, and its proper address.
If the external drive fails to answer even one of these questions correctly, Windows simply ignores it. It refuses to display the folder on your screen to protect the rest of your system from potential errors. You can think of it exactly like a postman trying to deliver a package to a house that has no street number on the front door.
The postman knows the house exists, but he cannot legally leave the package there. Our job today is to figure out exactly where the communication is breaking down. We are going to give your drive a proper address so the computer can finally speak to it.
Step One: The Physical Hardware Interrogation
The most common reason a drive fails to appear has absolutely nothing to do with confusing software. Many times, the issue is entirely physical. We always want to start our troubleshooting journey by checking the actual hardware components.
First, you need to gently touch the top of your external drive while it is plugged in. Do you feel a very slight, consistent vibration? If it is a traditional mechanical drive, you should literally feel the internal disks spinning up.
If the box is completely silent and cold, it is not getting any power. Try plugging the device into a completely different USB port on your machine. If you are using a large desktop computer, always use the ports on the very back of the machine, not the ones on the front panel.
The USB ports on the back are connected directly to the main motherboard. They provide a much stronger and more reliable power current than the front ports. Many heavy-duty portable drives simply require more electrical juice than a front panel can actually deliver.
My Personal Pro Tip: I once spent three days thinking my expensive backup drive was completely dead, only to realize my USB cord had a tiny internal tear. Swapping it out with a high-quality, thick data cable fixed the problem in exactly five seconds. Never blindly trust the cheap, thin cable that originally came free in the box.
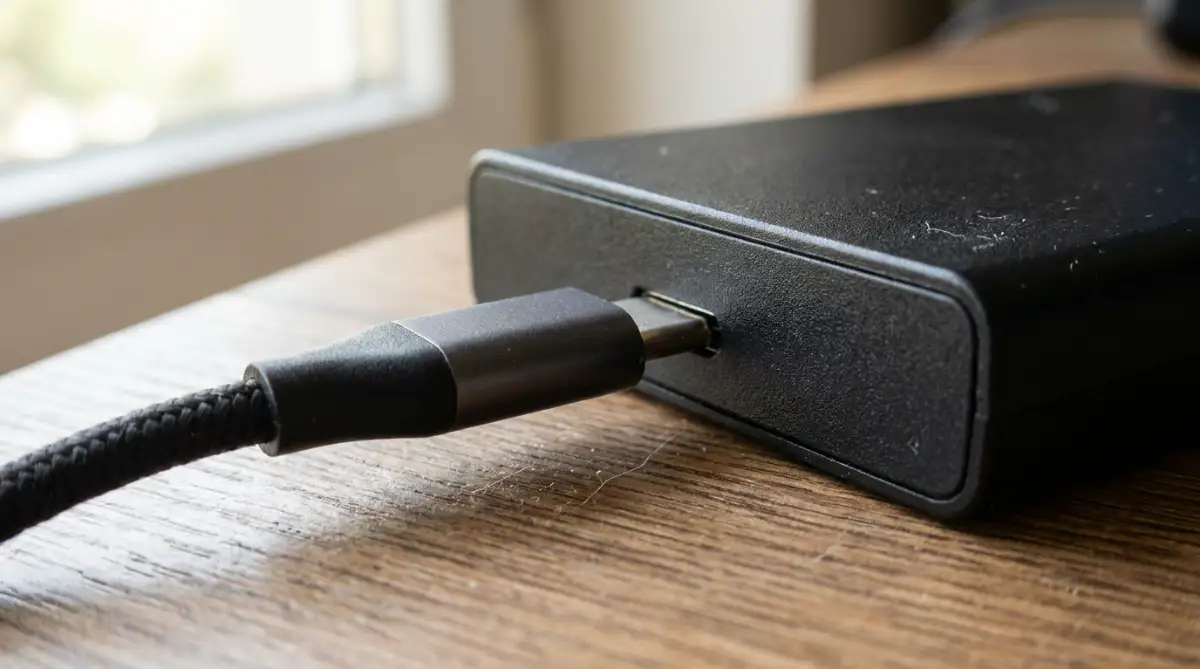
You should also completely avoid using USB hubs during this testing phase. Those cheap plastic splitters often fail to push enough power to support a heavy storage device. Plug the cord directly into the main body of your computer to rule out any middleman interference.
Power & Port Quick Check:
- Desktop Back Ports: Best (Gets direct power from the motherboard).
- Laptop Side Ports: Good (Make sure your charger is plugged in for full juice).
- Cheap USB Hubs: Avoid (Splits power too thin, often starving the drive).
Watch This Quick Hardware Checklist
If you prefer to see exactly how to check your physical ports and cables properly, watch this incredibly helpful visual breakdown before moving forward.
Step Two: Hunting in the Hidden Control Room
If your drive is definitely spinning and getting power, but still refuses to show up, we need to check the computer's brain. Windows has a hidden control room called Disk Management. This special tool can see every single storage device connected to your machine, even the ones that are currently invisible to you.
To open this hidden room, right-click on your main Start button at the bottom of your screen. A tall menu will pop up. Look closely and select the option labeled Disk Management.
A new window will open showing a list of all your drives and a bunch of colored rectangles. Do not let all the complicated numbers and technical terms intimidate you. We are only looking for one specific thing.
Scroll down through the list and see if you can spot your external drive based on its storage size. If you plugged in a one-terabyte drive, look for a block that says something close to "931 GB." If you see your device listed here, you should celebrate, because your data is totally safe and the drive is not physically broken.
Step Three: Decoding the Colored Rectangles
Once you spot your device in the Disk Management window, you need to look at the color of the bar above it. This color tells you exactly why Windows is hiding the folder from you. It acts as a perfect diagnostic indicator.
If the bar is completely black, it means the drive is "Unallocated." This means the space is totally blank and unformatted. You can think of this like a massive plot of empty land that has not been divided into proper building lots yet.
If this is a brand new drive fresh out of the box, seeing a black bar is perfectly normal. You just need to right-click that black space, select "New Simple Volume," and follow the basic prompts to format it. However, if this is an old drive full of important family photos, do not format it right now.
Formatting an unallocated drive will permanently erase every single file hidden inside. If your older, data-filled drive suddenly shows up as unallocated, the internal filing system is corrupted. You will need to use dedicated data recovery software to rescue your files before doing anything else.
Step Four: The Missing Address Letter Problem
Now, let us imagine you found your drive in the list, and the bar above it is actually a healthy, bright blue color. A blue bar means the drive is properly formatted and perfectly healthy. So, why is it still invisible when you open your main file explorer?
The answer is incredibly simple: it is missing a drive letter. Every storage device on a Windows computer needs a designated letter of the alphabet, like your "C:" drive or your "D:" drive. If the letter gets accidentally erased, the computer hides the entire device.
This happens frequently when you plug your drive into many different computers throughout the week. Sometimes, two different devices try to claim the exact same letter, causing a digital traffic jam. Windows resolves this conflict by just taking the letter away entirely.
Fixing this is the easiest part of our entire journey. Right-click directly on the blue rectangle associated with your hidden drive. A small menu will appear.
Select the option that says Change Drive Letter and Paths. A small box will pop up. Click the "Add" button, choose any random letter from the dropdown menu, and click "OK."
The exact second you click that final button, you will likely hear a cheerful chime from your computer. Your missing folder will immediately pop up on the screen, revealing all your precious files. You just successfully gave the postman a proper address to deliver the mail.

Quick Drive Letter Q&A:
- Question: What if the "Change Drive Letter" option is greyed out?
- Answer: This usually means the drive has no partition or is formatted in a file system Windows doesn't support (like Mac's APFS). You might need to use a third-party tool to read it first.
Step Five: Firing a Bad Translator
If your drive does not even show up in the Disk Management tool, we have to look at how the computer talks to the hardware. Windows uses tiny pieces of software called drivers to translate instructions between the computer and the external box. If this translator gets tired, confused, or outdated, the communication totally fails.
We need to fire the bad translator and hire a fresh one. To do this, we use a different tool called the Device Manager. Right-click your Start button again, but this time select Device Manager.
A long list of computer parts will appear on your screen. Click the little arrow next to the category called "Disk drives" to expand the list. You should also expand the category at the very bottom labeled "Universal Serial Bus controllers."
We are looking for any items in these lists that have a tiny yellow triangle with an exclamation mark next to them. That yellow warning sign is Windows screaming for help. It means the translator software has completely crashed.
If you see a yellow warning sign next to your USB device, simply right-click it and select "Uninstall device." Do not worry, you are not deleting your personal files. You are just removing the broken translator program.
Once it is uninstalled, simply restart your entire computer while leaving the drive plugged in. When Windows wakes back up, it will automatically notice the missing driver and download a brand new, fresh copy from the internet. This automated reset fixes the invisible drive problem about eighty percent of the time.
Step Six: Defeating the Aggressive Power Saver
There is one more highly sneaky reason your computer might be ignoring your perfectly healthy device. Windows laptops are designed to be extremely aggressive about saving battery life. The operating system will sometimes intentionally cut off power to your USB ports if it thinks you are not actively using them.
This feature is called "USB Selective Suspend." While it is great for saving battery on an airplane, it is terrible for heavy external hard drives. The computer might put the port to sleep right in the middle of a file transfer, causing the drive to suddenly vanish from your screen.
You need to tell Windows to stop interfering with your power delivery. Open your main Windows search bar and type "Edit power plan." Click on the matching result to open a new settings window.
Click on the small blue text that says Change advanced power settings. A tiny, complicated-looking box will pop up with a long list of technical terms. Scroll down until you see the section labeled "USB settings."
Click the tiny plus sign to expand it, and you will see the "USB selective suspend setting." Change the drop-down option from "Enabled" to "Disabled." Click the "Apply" button at the bottom of the window to lock in your changes.
By disabling this aggressive power-saving feature, you guarantee that your USB ports remain fully powered at all times. The computer will no longer try to put your external hard drive to sleep without your permission. This creates a highly stable, permanent connection for your device.
Creating a Troubleshooting Checklist
When panic sets in, it is incredibly easy to forget all of these technical steps. To make this process absolutely foolproof, you should follow a strict hierarchy of troubleshooting. Moving from the simplest physical check to the most complex software setting saves you a massive amount of wasted time.
Here is a quick breakdown of how you should mentally approach this problem the next time it happens:
If you calmly walk through this chart from top to bottom, you will almost always find the exact root of the problem. You completely remove the emotional stress from the situation and replace it with cold, hard logic. You become the master of your own technology, rather than letting the machine dictate your mood.
Advanced Repair Strategies for Stubborn Hard Drives
Sometimes, even after you assign a new drive letter and check all the physical cables, your external drive still refuses to cooperate. This is when you need to step up your game and use a few advanced techniques that IT professionals use behind closed doors. These methods force Windows to completely rebuild its relationship with your hardware.
One incredibly powerful tool hidden inside Windows is the Command Prompt. This looks like a scary, black hacker screen, but it is actually just a direct way to talk to your computer without using the mouse. You can use a specific command called "DiskPart" to manually wake up a stubborn drive that the regular Disk Management tool cannot see.
To open it, click your Start button, type "cmd," and make sure you right-click and select "Run as administrator." Once the black box opens, simply type "diskpart" and press Enter. This special utility gives you deep, raw access to the physical structure of your storage devices.
You can read the official Microsoft documentation on using DiskPart safely to understand exactly how powerful this tool really is. If your drive shows up in the DiskPart list but is marked as "Offline," you can literally just type "online disk" to force it back to life. This single command bypasses all the normal Windows safety checks and forces the connection.
Another brilliant trick is checking for hidden software conflicts. Sometimes, aggressive antivirus programs or third-party backup software completely lock down your USB ports. They do this to prevent viruses, but they accidentally block your perfectly safe external hard drive in the process.
Try temporarily disabling your antivirus software for just five minutes and plug the drive back in. If the folder instantly pops up, you know exactly who the culprit is. You will need to go into your antivirus settings and manually add your specific external hard drive to the "trusted devices" list.
You also need to think about the file system format itself. If you originally formatted your drive using an Apple Mac computer (using the HFS+ format), a standard Windows computer literally cannot read that language natively. The drive will show up in Disk Management, but Windows will not let you open the folder.
If you frequently move files between Mac and Windows computers, you must format your shared drives using the "exFAT" or "FAT32" file systems. These are universal digital languages that both Apple and Microsoft understand perfectly. Fixing this translation issue completely stops the "unrecognized format" error from ruining your workday.

Destructive Habits That Kill Your Portable Drives
Fixing a broken connection is deeply satisfying, but preventing the problem from ever happening is much smarter. Most unrecognized drive issues are actually caused by bad daily habits that slowly damage the internal software. We need to talk about the things you are doing right now that are quietly destroying your hardware.
The absolute most destructive habit is aggressively yanking the USB cable out of your computer without warning. We are all incredibly busy, and waiting five seconds for the "Safely Remove Hardware" notification feels like a massive waste of time. But pulling that cord while the drive is still writing data is the fastest way to instantly corrupt your entire file system.
When you yank the cord, you are basically cutting the power to a spinning record player while the needle is still down. It physically scratches the digital surface and scrambles the data index. This causes the exact "Unallocated" black bar error we discussed earlier in the Disk Management tool.
Another terrible mistake is using your external hard drive directly on top of soft surfaces like beds, pillows, or thick blankets. Mechanical hard drives have spinning metal plates inside that generate a lot of heat. If you block the tiny air vents on the plastic casing, the drive will literally bake itself to death from the inside out.
Just like you would follow the simple ways to spot and avoid overheating issues with your favorite gaming console, you must treat your hard drive with the same respect. Always place the drive on a hard, flat, and cool surface like a wooden desk or a metal table. Keeping the internal temperature down drastically extends the lifespan of the connection port.
You also have to stop treating your portable hard drive like a rugged toy. Throwing it loosely into the bottom of your heavy backpack where it bounces against your laptop charger is a recipe for disaster. The tiny reader heads inside a mechanical drive are microscopic, and a single hard drop onto a concrete floor can permanently shatter them.
If the drive clicks, grinds, or makes a loud scratching noise when you plug it in, stop immediately. Do not keep plugging it in hoping it will magically fix itself. A clicking sound means physical metal is grinding against your data, and every second it runs, it destroys more files.
At that point, no software trick or Drive Letter change is going to save you. You must immediately unplug the drive and start researching exactly how to rescue your lost files before it is too late using professional recovery services. Ignoring physical damage is the absolute worst mistake a computer owner can make.
For more detailed information on physical drive failure, you can read the hard drive reliability statistics published by Backblaze. Their massive data center reports prove that all drives eventually fail, which highlights why treating them gently is so incredibly important.
Your Personal Hardware Rescue Action Plan
You are no longer a helpless victim staring blankly at a missing computer folder. You now possess the exact diagnostic tools and software tricks needed to force Windows to respect your hardware. You understand the difference between a broken cable, a missing drive letter, and a completely corrupted file system.
Your immediate assignment for today is to go find that old, dusty external hard drive you threw in your desk drawer last year because it "stopped working." I want you to plug it directly into the back of your desktop computer and open the Disk Management tool. Walk through the exact diagnostic checklist we created together.
Remember that technology is not actually magic; it is just a series of logical connections. When a connection breaks, you just have to patiently follow the wire until you find the exact spot where the signal stopped.
My Personal Note: I used to literally sweat with anxiety every time an old backup drive failed to load on my screen. But once I realized how easily Windows drops drive letters, the fear completely vanished. Take a deep breath, open Disk Management, and take back complete control of your digital life right now!
Quick Answers For Stubborn USB Drives
Will changing the drive letter delete any of my personal files?
No, absolutely not. Changing or assigning a new drive letter is completely safe and does not touch the actual data stored inside the physical drive. It simply gives the Windows operating system a new shortcut address to find where your folders are located.
Why does my drive work perfectly on my TV but not on my Windows laptop?
This is almost always a file system format issue. Many modern smart TVs format external drives using a proprietary Linux format that Windows computers cannot read natively. If you formatted the drive using your TV menu, you will likely need special third-party reader software to open it on your Windows machine.
What should I do if my drive shows up as "RAW" in Disk Management?
A "RAW" status means the master index that organizes your files has become completely corrupted. Windows can see the physical hardware, but it cannot read the language of the files inside. Do not format it! You must run dedicated data recovery software immediately to pull the raw files out before fixing the drive.
Is a solid-state drive (SSD) less likely to have these connection problems?
SSDs are completely immune to physical damage from spinning disks because they have zero moving parts, making them much safer to carry in a backpack. However, they are still highly vulnerable to missing drive letters, bad USB cables, and corrupted file systems. You must still safely eject an SSD before pulling the cord.
Can a cheap USB hub actually cause my drive to become corrupted?
Yes, absolutely. Cheap, unpowered USB hubs split the electrical current between multiple devices. If your external hard drive suddenly loses power in the middle of saving a massive video file because the hub failed, the file system will instantly corrupt, making the entire drive unreadable on the next reboot.
Disclaimer: The information provided in this article is for general educational and informational purposes only and does not constitute professional IT support or guaranteed data recovery advice. Hardware configurations, Windows operating system versions, and specific drive failures vary heavily. Always ensure your most important files are backed up to multiple locations, and consult a certified data recovery professional before attempting to fix physically clicking or severely damaged hard drives.