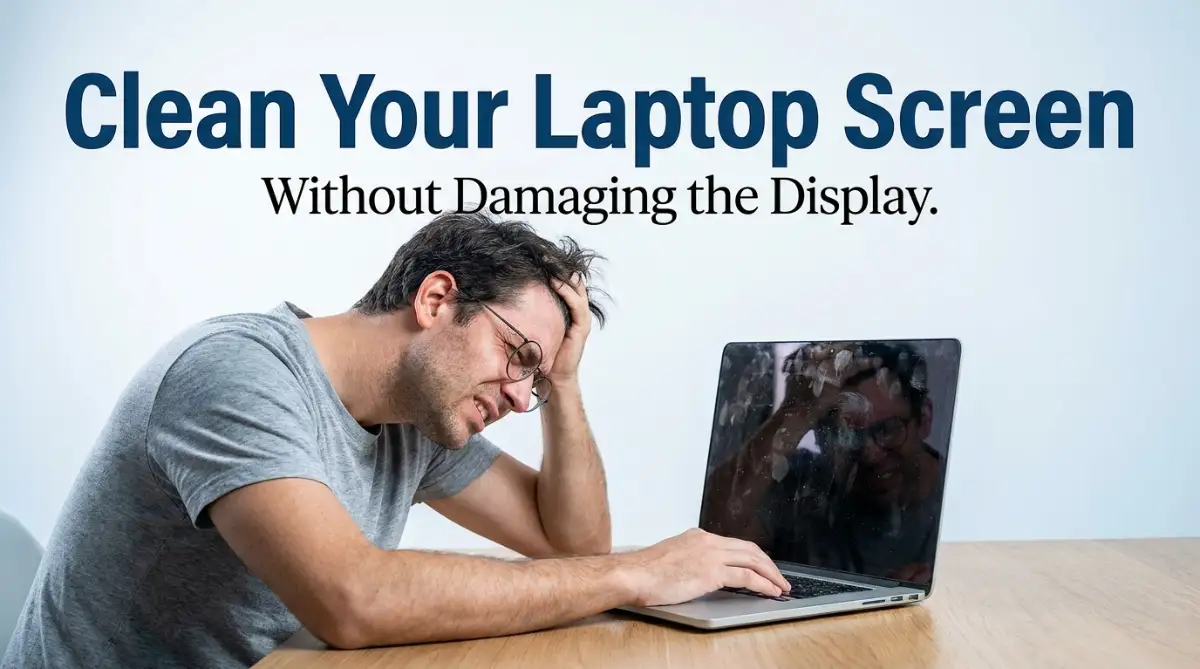
The Frustrating Fog of a Dirty Display
I completely ruined a brand new $500 monitor last year because I sprayed standard glass cleaner directly onto the screen. I just wanted to wipe away some annoying fingerprints, but the harsh chemicals permanently melted the anti-glare coating, leaving a massive, cloudy white spot right in the middle. Cleaning your expensive laptop screen doesn't have to be a guessing game. Let me show you the exact, safe method to get a crystal-clear display without destroying your hardware.
My 60-Second Screen Cleaning Guide (TL;DR)
- Never clean your screen while it is turned on; a hot screen will bake the liquid and leave permanent streaks.
- Do not use Windex, bleach wipes, or rubbing alcohol. Harsh chemicals will instantly dissolve your screen's anti-glare coating.
- Never use paper towels or tissues, as the tiny wood fibers act like sandpaper and cause microscopic scratches.
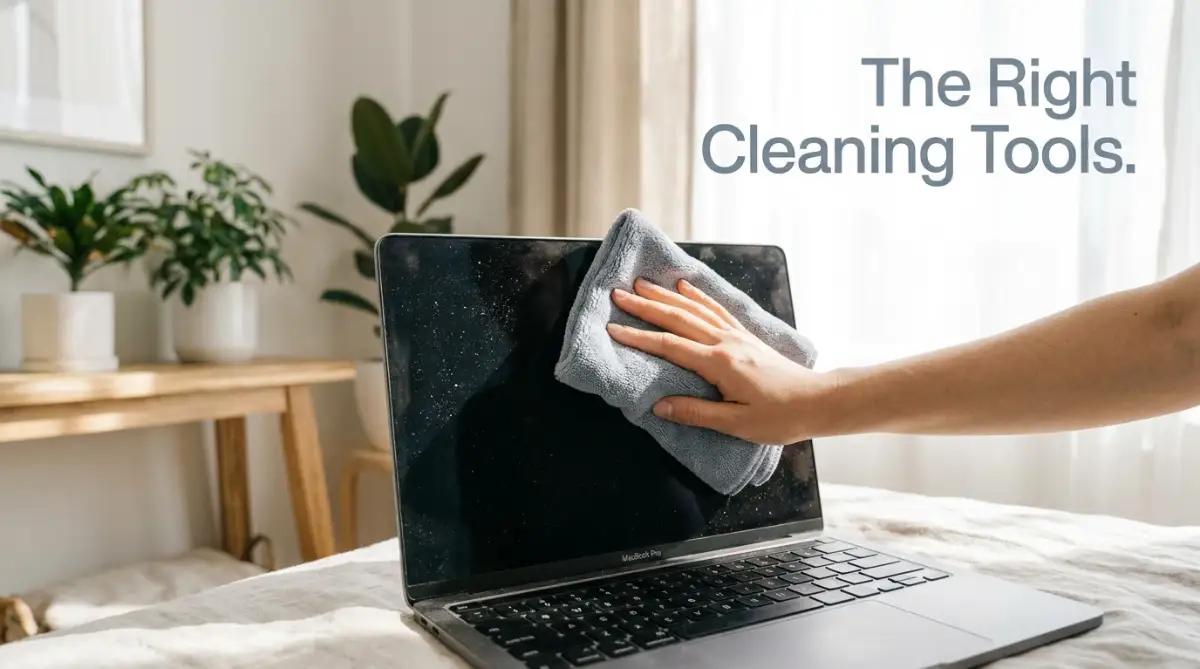
- Use a clean, dry microfiber cloth first. If you need liquid, lightly dampen the cloth with pure distilled water.
Decoding the Fragile Layers of Your Monitor
Before we talk about cleaning solutions, we have to look closely at what you are actually touching. Your laptop screen is an incredibly sensitive, multilayered sandwich of technology.
The top layer is usually a very thin sheet of specialized plastic or treated glass. This top layer is specifically coated with a microscopic chemical film called an anti-glare (oleophobic) coating.
This invisible chemical shield is designed to stop bright room lights from reflecting back into your eyes. It is also meant to naturally repel the heavy oils from your human skin.
If you use the wrong type of cleaning rag or harsh soap, you will literally dissolve and strip this expensive coating right off the plastic.
The Sunburn Peeling Analogy:
Imagine getting a terrible sunburn on your shoulder, and the top layer of your skin begins to peel away in ugly, white patches. Your laptop screen behaves in this exact same physical way when the anti-glare coating is destroyed.
You will see permanent, ugly rainbow-colored smears and patchy, highly reflective bald spots across the display. These stripped patches cannot be fixed or painted over; the only solution is paying six hundred dollars to replace the entire monitor assembly.
Let us look at the strict, scientific rules you must follow to protect this fragile chemical barrier.
The Golden Rule of Pre-Cleaning Preparation
The absolute most common mistake people make happens before they even touch a cleaning cloth. They try to wipe their laptop screen while the computer is turned on and actively running.
This is a terrible idea for two very important reasons.
First, when the screen is brightly lit, it is almost completely impossible to actually see where the smudges and dust particles are located. The bright backlight hides the dirt, meaning you will miss large sections of the screen entirely.
Second, an active computer monitor generates a significant amount of physical heat. If you apply any type of liquid cleaner to a hot, running screen, the liquid will evaporate almost instantly.
This rapid evaporation leaves behind highly stubborn, ugly white streaks that are incredibly difficult to remove.
Your Actionable Pre-Cleaning Strategy:
You must completely shut down your laptop through the main operating system menu. Do not just close the lid and put it to sleep; power it down entirely.
Once the machine is off, unplug the main power cable from the wall. Let the laptop sit completely open for at least five full minutes.
This short resting period allows the internal glass and plastic layers to cool down to a safe room temperature. A cold, perfectly black screen provides the absolute best background for spotting every single hidden fingerprint.
I completely ruined a beautiful gaming monitor a few years ago because I aggressively sprayed window cleaner on it while playing a hot, heavy game. My biggest realization was that the hot screen instantly baked the cleaning chemicals directly into the plastic, leaving a permanent white fog right in the middle of the display.
The Physics of the Microfiber Cloth
Now that your screen is cool and dark, you need to select the correct physical tool. You probably have a roll of white paper towels sitting in your kitchen right now.
You must never, under any circumstances, use a standard paper towel to wipe your expensive computer screen. Paper towels and facial tissues are manufactured using raw wood pulp and recycled paper fibers.
At a microscopic level, these wood fibers are incredibly sharp and highly abrasive.
The Sandpaper Destruction Concept:
Think of a kitchen paper towel exactly like a sheet of fine-grit sandpaper. If you drag a paper towel across your delicate plastic screen, it will physically scratch the soft anti-glare coating.
You might not see the scratches on the first day, but after a month of doing this, your screen will look permanently cloudy and heavily scuffed.
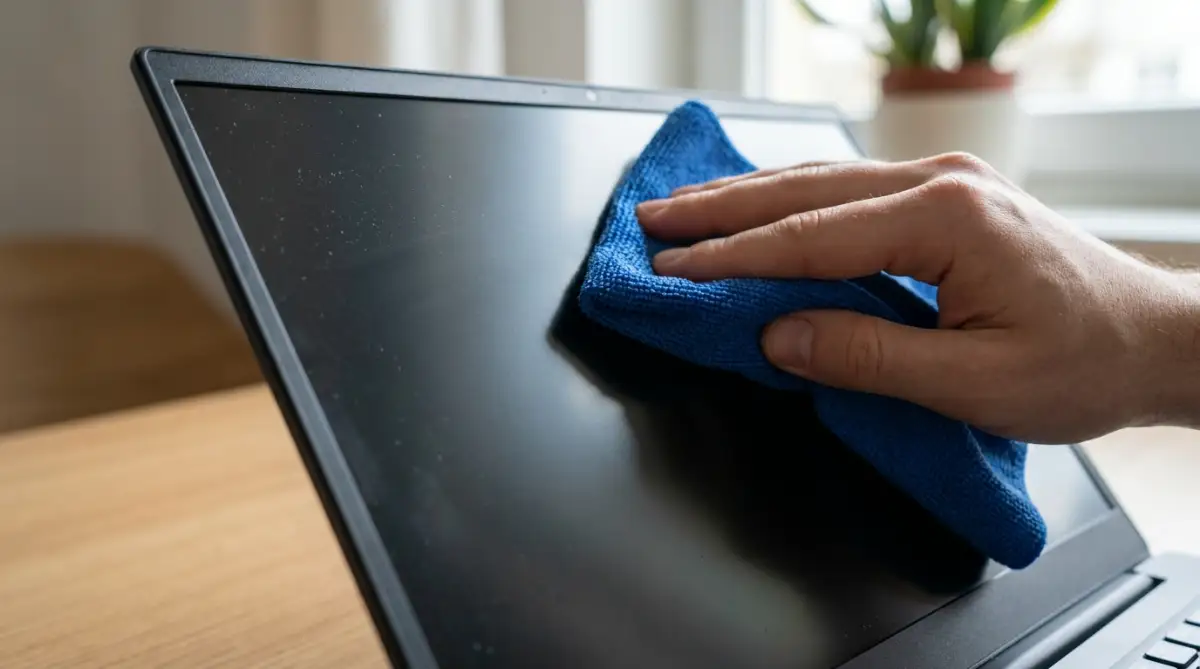
You must use a clean, high-quality microfiber cloth. Microfiber cloths are woven using millions of tiny, ultra-soft synthetic threads.
These threads are designed to act like microscopic hooks. Instead of pushing the dirt around, the soft hooks physically grab the oily fingerprints and lift them safely away from the surface without scratching the plastic.
Your Actionable Wiping Strategy:
Before you add any liquid, you should always perform a "dry wipe." Take a completely clean, dry microfiber cloth and gently wipe the entire screen to remove any loose dust particles.
Do not press hard. If you press too hard on the back of the screen, you can physically crush the liquid crystals inside, creating permanent dead pixels.
Use broad, slow, sweeping motions from the left side of the screen to the right side. Never rub the cloth in tight, aggressive circles, as this simply spreads the grease around in a messy, frustrating loop.
The "Flashlight Test" Trick:
Before you think you are finished cleaning, turn off your office lights and shine your smartphone's flashlight directly at the black monitor. You will instantly see all the hidden streaks and greasy smears you missed during your first wipe.
If you are terrified of pressing too hard and breaking your delicate LCD screen, you absolutely must watch this expert demonstration on the safest physical wiping techniques.
The Chemical Danger Zone: What Liquids to Avoid
If a simple dry wipe does not remove the heavy, sticky fingerprints from your screen, you will need to introduce a tiny amount of moisture. This is the exact moment where most people destroy their devices.
You naturally want to use a heavy-duty household cleaner to cut through the grease. You might reach for a bottle of Windex, bleach wipes, or heavy rubbing alcohol.
These household chemicals contain highly aggressive solvents like ammonia and high-percentage isopropyl alcohol. These strong chemicals are strictly designed to clean thick, solid glass windows and porcelain toilets.
When ammonia touches your laptop display, it causes an immediate, highly destructive chemical reaction with the soft plastic anti-glare coating. The coating literally dissolves and melts away upon contact.
The Pure Water Solution:
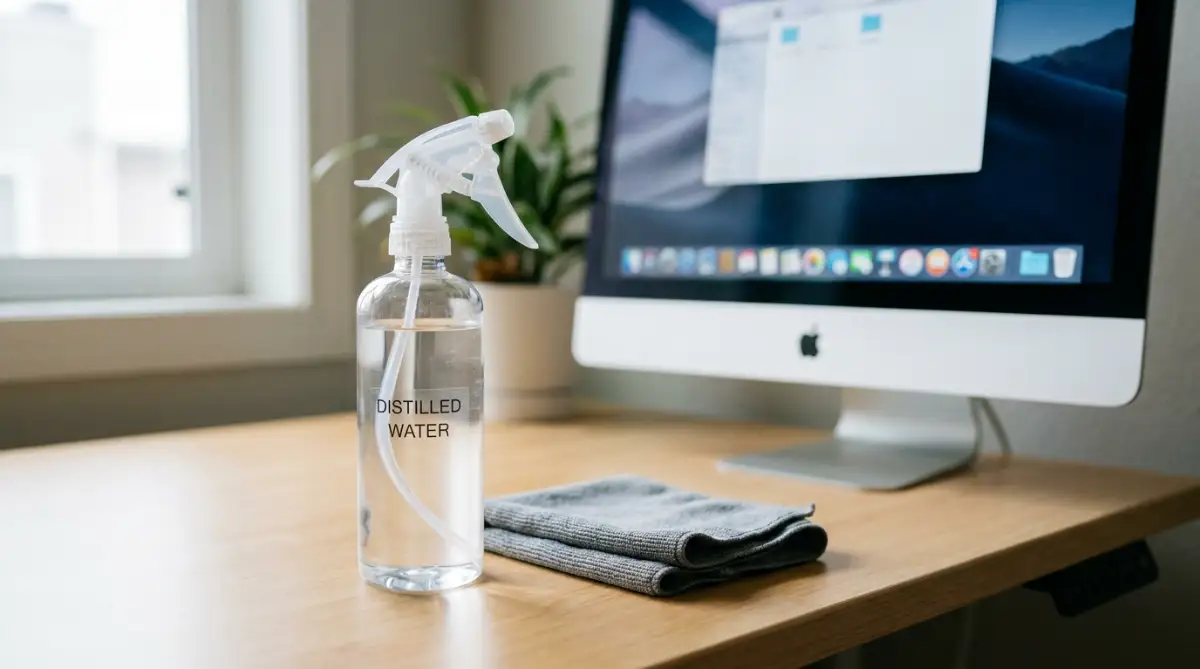
You do not need to buy an expensive, fancy "screen cleaning spray" from the electronics store. The absolute best, safest chemical cleaner in the world is simple distilled water.
You must use distilled water, not normal tap water. Tap water contains heavy microscopic minerals like calcium and magnesium.
If you use tap water, those tiny minerals will dry directly onto your screen, leaving highly annoying, white chalky spots everywhere. Distilled water has been completely purified, meaning it dries perfectly clear without leaving a single trace behind.
My Safe Cleaning Kit:
Advanced Secrets to Keep Your Display Spotless
Now that you understand the danger of harsh household cleaners, we need to focus on how to maintain a perfectly clean monitor over the long term. Your computer screen acts as a heavy magnet for airborne dust, sneeze droplets, and natural skin oils from your fingers.
According to hardware maintenance guidelines from Consumer Reports, preventing the buildup of heavy dust is the absolute best way to avoid aggressive scrubbing sessions [1]. You must learn to build a gentle, consistent cleaning routine to protect your expensive hardware.
If you ignore daily dust accumulation, the tiny particles will eventually bond with the heat generated by your display, creating a stubborn, glue-like crust. When this crust forms, it becomes incredibly difficult to remove without applying heavy physical pressure, which directly damages the delicate liquid crystals inside.
To safely eliminate heavy, stubborn grease spots that distilled water cannot lift, tech experts recommend creating a highly specific, homemade chemical mix. You should mix exactly fifty percent distilled water with fifty percent white vinegar.
White vinegar is a highly effective, natural acid that safely cuts through sticky finger oils without dissolving the protective anti-glare layer. Never spray this vinegar mixture directly onto your computer screen, as the liquid will quickly drip down into the bottom plastic bezel and destroy the internal wiring.
Instead, spray two tiny pumps of the mixture directly onto your microfiber cloth, ensuring the cloth is only slightly damp, never dripping wet. Keeping your hardware completely safe from liquid damage requires a strong protective habit.

Silent Hardware Mistakes That Destroy Expensive Monitors
Even highly intelligent people make terrible, expensive choices when they are rushing to clean their workspace before a video meeting. The heavy stress of looking professional often blinds us to basic hardware safety rules.
If you fall into these incredibly common cleaning traps, your laptop screen will eventually experience a permanent physical failure. This frustrating cycle can easily ruin your weekend, destroy your ability to work, and wipe out your savings.
Let us look at the silent pitfalls you must avoid to keep your expensive technology safe and secure.
The "Magic Eraser" Sponge Disaster
When people encounter a highly stubborn, dried coffee stain on their monitor, they often reach for a popular cleaning product known as a "Magic Eraser." Because these white sponges work perfectly on dirty kitchen counters and scuffed walls, people assume they are safe for electronics.
This is a massive, highly destructive visual trap. These white cleaning sponges are not soft foam; they are actually made of melamine foam, which acts exactly like a block of microscopic sandpaper.
When you rub a melamine sponge across your delicate laptop display, it aggressively grinds away the top plastic layer. It permanently removes the anti-glare coating and leaves a massive, cloudy white scratch right in the center of your screen.
Always stick to ultra-soft microfiber cloths and leave the heavy-duty kitchen sponges far away from your home office.
Eating Directly Over Your Keyboard
We all love the convenience of eating a quick lunch while watching a YouTube video or finishing a spreadsheet at our desks. But eating directly over your open laptop is a massive, hidden cause of severe screen damage.
When you bite into a sandwich or chew crunchy snacks, tiny microscopic droplets of grease and saliva naturally fly out of your mouth and land directly on the screen. Even worse, greasy crumbs drop deep inside the keyboard keys.
When you finish eating and snap the laptop lid closed, those hard crumbs are aggressively pressed directly against the fragile display glass. When you pack the laptop into a tight backpack, the pressure from the bag forces the crumbs to grind into the screen, creating permanent, tiny white scratches called "key marks."
DO's and DON'Ts For Long-Term Screen Health:
- DO keep your laptop lid closed when you are not actively working to block floating room dust.
- DO NOT ever point a can of compressed air directly at the screen, as the freezing liquid propellent can shatter the glass.
- DO wash your microfiber cloths regularly without using heavy fabric softeners that leave greasy residues.
- DO NOT use your fingernail to aggressively scratch off dried food spots from the monitor.
Establishing strict physical boundaries around your electronics is highly important. Just like learning troubleshooting home Wi-Fi dead zones without buying an expensive router prevents frustrating internet drops, keeping food away from your desk prevents permanent hardware damage.
A Word from the Expert: Your Blueprint for Hardware Longevity
Navigating the delicate maintenance of expensive electronics does not have to be an overwhelming or stressful experience. You now hold the exact same strategic knowledge that professional hardware technicians use to restore damaged devices.
By taking a few short minutes to turn your computer off, grab a clean microfiber cloth, and use pure distilled water, you completely remove the fear of a ruined display. You are no longer crossing your fingers and hoping the window cleaner does not melt your plastic coating.
Instead, you are confidently commanding your own hardware maintenance like a seasoned IT professional. This simple shift in your daily routine gives you incredible power over your entire technology future.
My personal laptop screen looks absolutely brand new today, even after four years of heavy daily use, entirely because I stopped treating it like a dirty kitchen window. Stop letting screen smudges ruin your daily focus, grab a clean cloth right now, and instantly feel the massive relief of having a crystal-clear digital workspace.
Common Questions About Display Maintenance
Can I use baby wipes or wet wipes to clean my laptop screen?
Absolutely not. Baby wipes and disinfecting wet wipes are loaded with harsh chemicals, heavy fragrances, and rough fibers that will instantly smear grease across your screen and permanently damage the anti-glare coating.
What should I do if my screen already has an ugly keyboard scratch on it?
Unfortunately, physical scratches on the plastic layer of a laptop screen cannot be buffed out or magically erased with liquids. To prevent the scratch from getting worse, you can apply a high-quality, clear plastic screen protector over the display to hide the damage slightly.
Is it safe to clean my touchscreen laptop the same way?
Yes, touchscreen laptops actually require the exact same gentle care as standard monitors. Because you touch them constantly with oily fingers, you will need to use your damp microfiber cloth more frequently, but you still must avoid harsh chemical sprays.
How often should I properly clean my computer monitor?
To prevent a massive, stubborn build-up of dust and oils, you should perform a quick, gentle dry wipe with a microfiber cloth exactly once a week. You only need to use distilled water when you see highly visible, sticky fingerprints that the dry cloth cannot lift.
Disclaimer: The information provided in this article is for educational and general informational purposes only and does not constitute professional hardware repair or technical support advice. Laptop screen materials, anti-glare coatings, and hardware warranties vary heavily by brand, manufacturer, and device age. Always consult with your device's official owner's manual or a certified electronics technician regarding the exact cleaning solutions, approved materials, and safety requirements of your specific computer monitor.