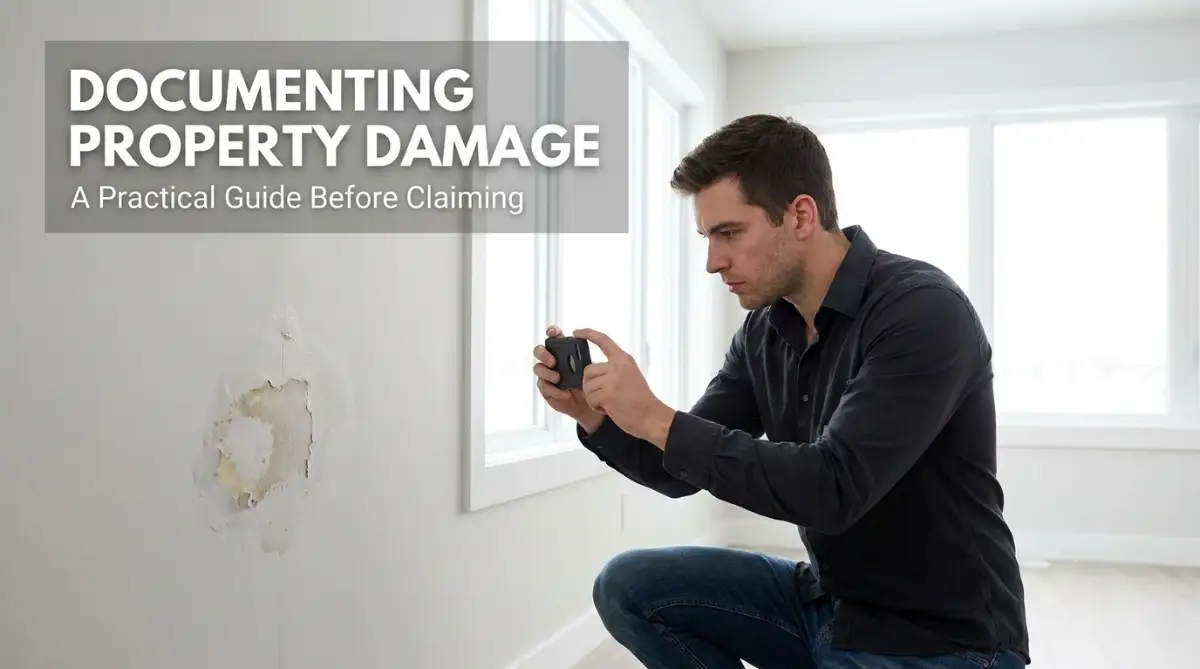
When a burst pipe floods your living room or a storm smashes a window, your first instinct is to grab towels and clean up the mess right away. But rushing to mop up standing water or dragging soaked carpets to the curb is the fastest way to get your insurance claim denied. Adjusters do not write checks based on your memories—they pay out based on cold, hard visual proof. In this guide, I will show you how to document home damage like a crime scene investigator, what evidence you must keep out of the trash, and how to build an airtight claim folder that gets you every dollar you deserve.
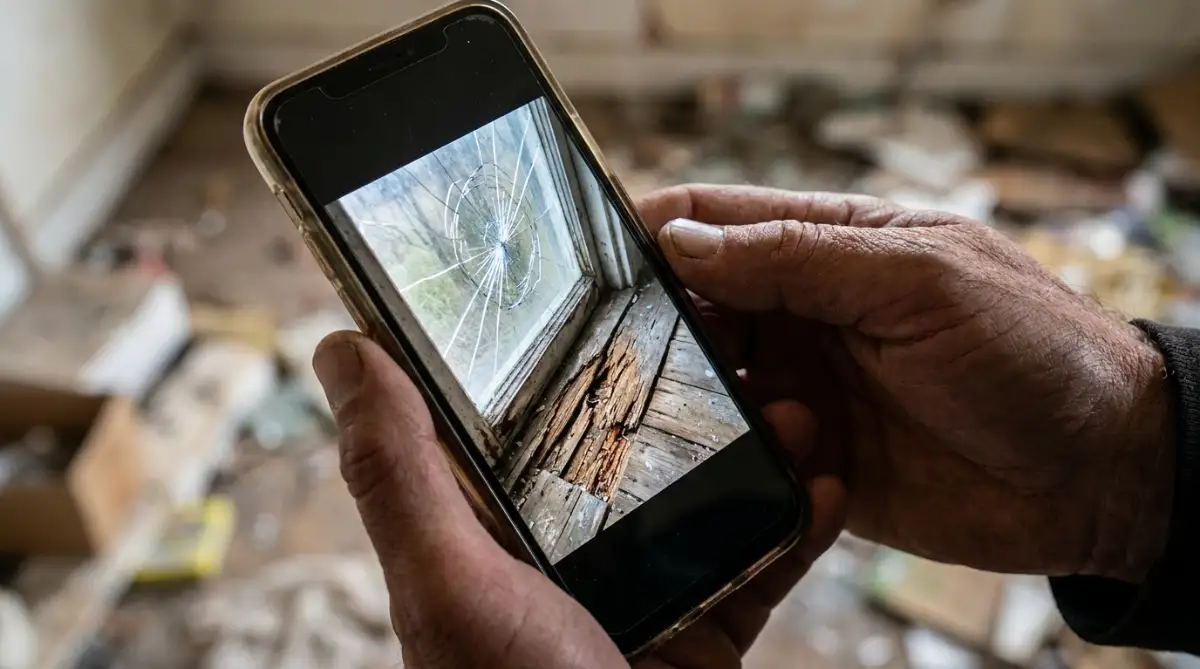
📌 What You Must Do Before Touching the Cleaning Supplies:
-
Stop and record first: Do not wipe up water or throw away soaked items until you take wide-angle photos and an unedited continuous video walk-through.
-
Keep the physical evidence: Never put ruined rugs, furniture, or burst pipe fittings in the garbage truck; stash them in the garage so the adjuster can verify them.
-
Only make temporary repairs: Cover broken windows with tarps to prevent further rain damage, but do not start permanent repairs before the claim is approved.
-
Build an itemized loss sheet: Write down exact brands, model numbers, and purchase dates for ruined electronics rather than generic descriptions.
Securing Your Personal Crime Scene
When you discover major damage in your home, you need to completely change your mindset. You are no longer just a homeowner trying to clean up a mess. You must act like an investigator securing a fresh crime scene. Every single item in that room tells a story about what happened and how much it will cost to fix.
If you start moving broken furniture or throwing away wet carpets before recording the scene, you lose your strongest negotiating power. The insurance adjuster needs to see the exact context of the disaster to write a fair report. Take a deep breath, put the cleaning supplies down, and pull out your smartphone immediately.
Here is a quick look at how people misunderstand the claims process:
Understanding this difference in thinking is your greatest weapon. You have to play their game by their strict rules if you want a positive outcome. Let us explore the exact steps you need to take before dialing your insurance agent's phone number.
Mastering the Art of Damage Photography
Your smartphone camera is the most powerful tool you have during a home disaster. However, snapping a few blurry pictures of a wet ceiling is not going to cut it. You need to capture the damage in a way that leaves absolutely no room for doubt or argument.
Always start by taking wide-angle context shots of the entire room. Stand in the doorway and take a picture of the whole space to show exactly where the damage is located. The adjuster needs to see how the broken window relates to the damaged television sitting across the room.
Once you have the wide shots, slowly move closer to take detailed macro pictures. If your drywall is bubbling from a pipe leak, get close enough to show the exact texture and size of the damage. Use an everyday object like a coin or a pen next to the damage to give the photo a clear sense of scale.
Make sure your room is as bright as possible. Open the curtains or turn on all the lights if it is safe to use electricity. If the power is out, use a strong flashlight to illuminate the dark corners. Shadows can easily hide severe water marks or structural cracks from the camera lens.
🎬 Insurance Insider: How to Handle Adjusters and Protect Your Claim
When the insurance company’s field adjuster shows up at your house, remember that their job is to protect corporate profit margins. Watch this candid breakdown from licensed insurance specialist Beaux on Beaux Knows Insurance. He explains how home property claims actually work behind closed doors, how adjusters evaluate physical damage, and what you must say to avoid lowball settlement offers:
Now that you understand how adjusters evaluate the scene, let us look at the strict camera rules you must follow so your photos cannot be disputed:
Never use filters or edit the photos in any way. Insurance companies use software to check if images have been manipulated. You want the raw, ugly truth of the situation preserved perfectly in your phone's memory gallery.
📸 The Forensic Photo Checklist: 4 Shots Adjusters Cannot Dispute
My Golden Rule: Never take vertical photos only. Take horizontal landscape shots of every wall and floor so the adjuster's corporate software can view the full context on their desktop monitors.
The Power of the Continuous Video Walkthrough
While photographs are excellent for detail, they often fail to capture the entire feeling of a disaster. A picture cannot show how fast a leak is dripping or the horrible sound of a cracking ceiling. This is where a continuous video recording becomes your absolute best friend.
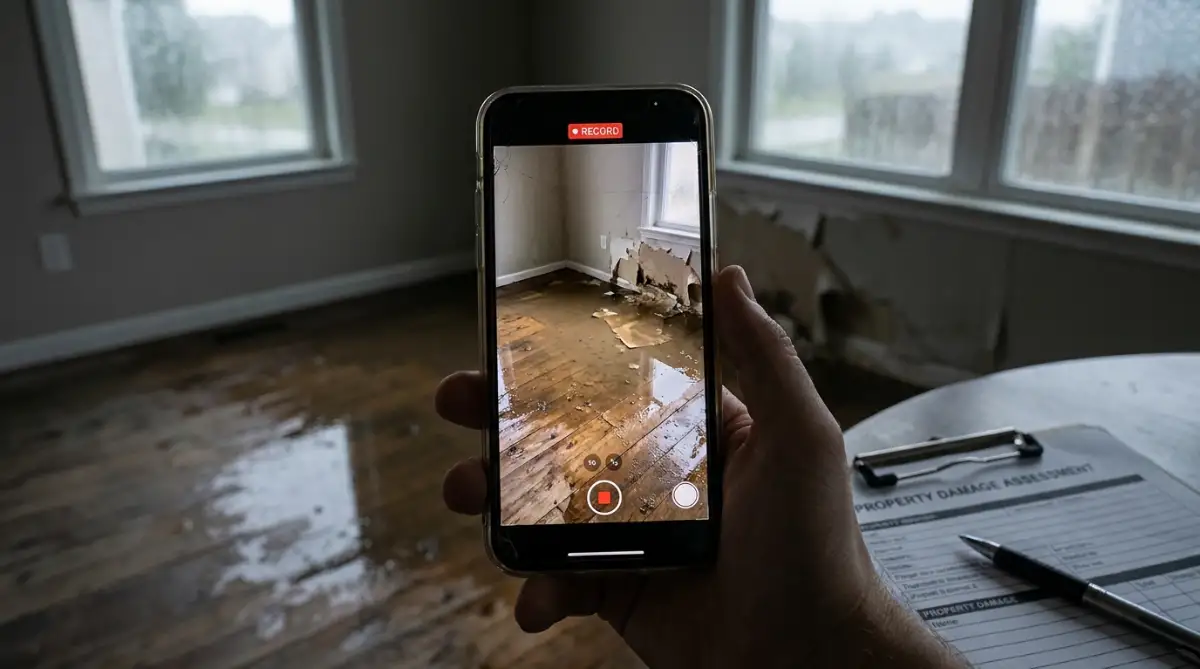
Start recording outside your front door and slowly walk into the house, narrating exactly what you see. Speak clearly and state the current date and time out loud for the record. Describe the smells, the sounds, and the specific feelings of the room as you walk through the damaged areas.
I learned the hard way that a simple photograph cannot capture the sound of a dripping pipe. My biggest realization was that walking through the room while recording a continuous video provides undeniable proof of the total damage. I now tell everyone to press record before they even touch a single item.
Do not stop the video to take a break. A single, unedited continuous shot proves to the company that you did not stage the scene. If you find a ruined laptop sitting in a puddle, point the camera at it and say, "This is my work laptop, completely submerged in water."
Building an Undeniable Loss Inventory
Taking pictures of the physical house structure is only the first half of the battle. The things you own inside the house—your personal property—often make up a huge portion of your financial loss. You need to create a highly detailed written list of every single item that was ruined.
Do not just write down "broken television" on a piece of paper. You need to be incredibly specific to get the maximum payout. Write down "Samsung 65-inch Smart LED TV, purchased last year for eight hundred dollars." The more details you provide, the harder it is for the adjuster to offer you a low replacement value.
Go through your email inbox and search for digital receipts or order confirmations for your big-ticket items. If you bought that expensive rug online, you probably have a receipt hiding in your email history. Print these out and attach them directly to your written inventory list.
If you do not have receipts, look for old family photos taken in that specific room before the disaster. A picture from last Thanksgiving might clearly show that expensive lamp sitting in the corner. This serves as historical proof that you actually owned the item you are claiming.
The Rules of Temporary Emergency Repairs
There is a very tricky balance you must maintain after documenting the scene. Your insurance policy actually requires you to stop further damage from happening to your home. If a tree breaks your window, you cannot just leave it open to the rain for a week waiting for the adjuster.
You are expected to make reasonable, temporary repairs to protect the property. This might mean throwing a large blue tarp over a leaking roof or placing a heavy wooden board over a shattered window. However, you must only do this after you have taken all your photos and videos.
Never hire a contractor to do a permanent fix before the insurance company approves the claim. If you tear out all the wet drywall and install brand new walls, the adjuster cannot verify the original problem. They might simply refuse to pay the contractor's bill, leaving you responsible for the massive debt.
Always save every single receipt for the materials you buy for these temporary repairs. If you buy a thirty-dollar tarp and a box of nails, the insurance company will usually reimburse you for those emergency supplies. Keep these specific receipts in a safe, dry folder separate from your normal household bills.
Do Not Throw Away the Evidence
One of the biggest mistakes people make is dragging ruined items to the curb for the garbage truck. Wet carpets smell terrible, and broken glass is dangerous, so naturally, you want it out of your house. But throwing these items away is like throwing away actual cash.
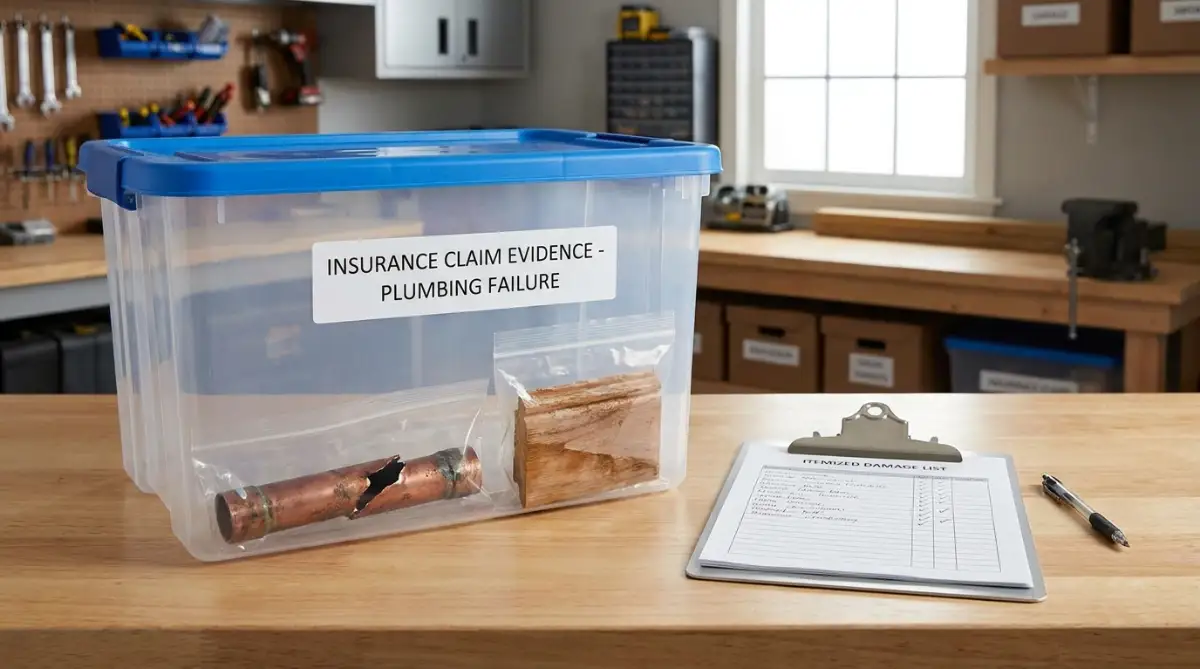
If you absolutely must remove a foul-smelling, soaked rug from your living room, drag it into your garage or backyard. Keep it safely on your property until the adjuster has physically looked at it. They need to see the brand tag and measure the dimensions to calculate your payment accurately.
The same rule applies to the actual source of the problem. If a specific plumbing pipe bursts, the plumber will need to cut it out to stop the leak. Tell your plumber to hand you that broken piece of pipe instead of throwing it in their work truck. The insurance company might need to inspect that exact broken part to determine who is truly at fault.
Organizing Your Digital Paper Trail
Once you have gathered all your photos, videos, and written lists, you need to protect them. Keeping everything only on your smartphone is incredibly risky. If you drop your phone in the same puddle that ruined your floor, you lose all your hard evidence instantly.
Upload every single file to a secure cloud storage service like Google Drive or Dropbox immediately. Create a specific folder named "Home Claim" and organize the files logically by room. Name your photos clearly, like "Kitchen_Ceiling_Damage_1" instead of leaving the default camera file names.
Having a neatly organized digital folder makes you look incredibly professional and prepared. When the claims adjuster finally calls you, you can simply email them a secure link to the entire folder. Adjusters deal with disorganized, panicking people all day long. When you hand them a perfect, organized package of evidence, they are much more likely to process your claim quickly and fairly.